
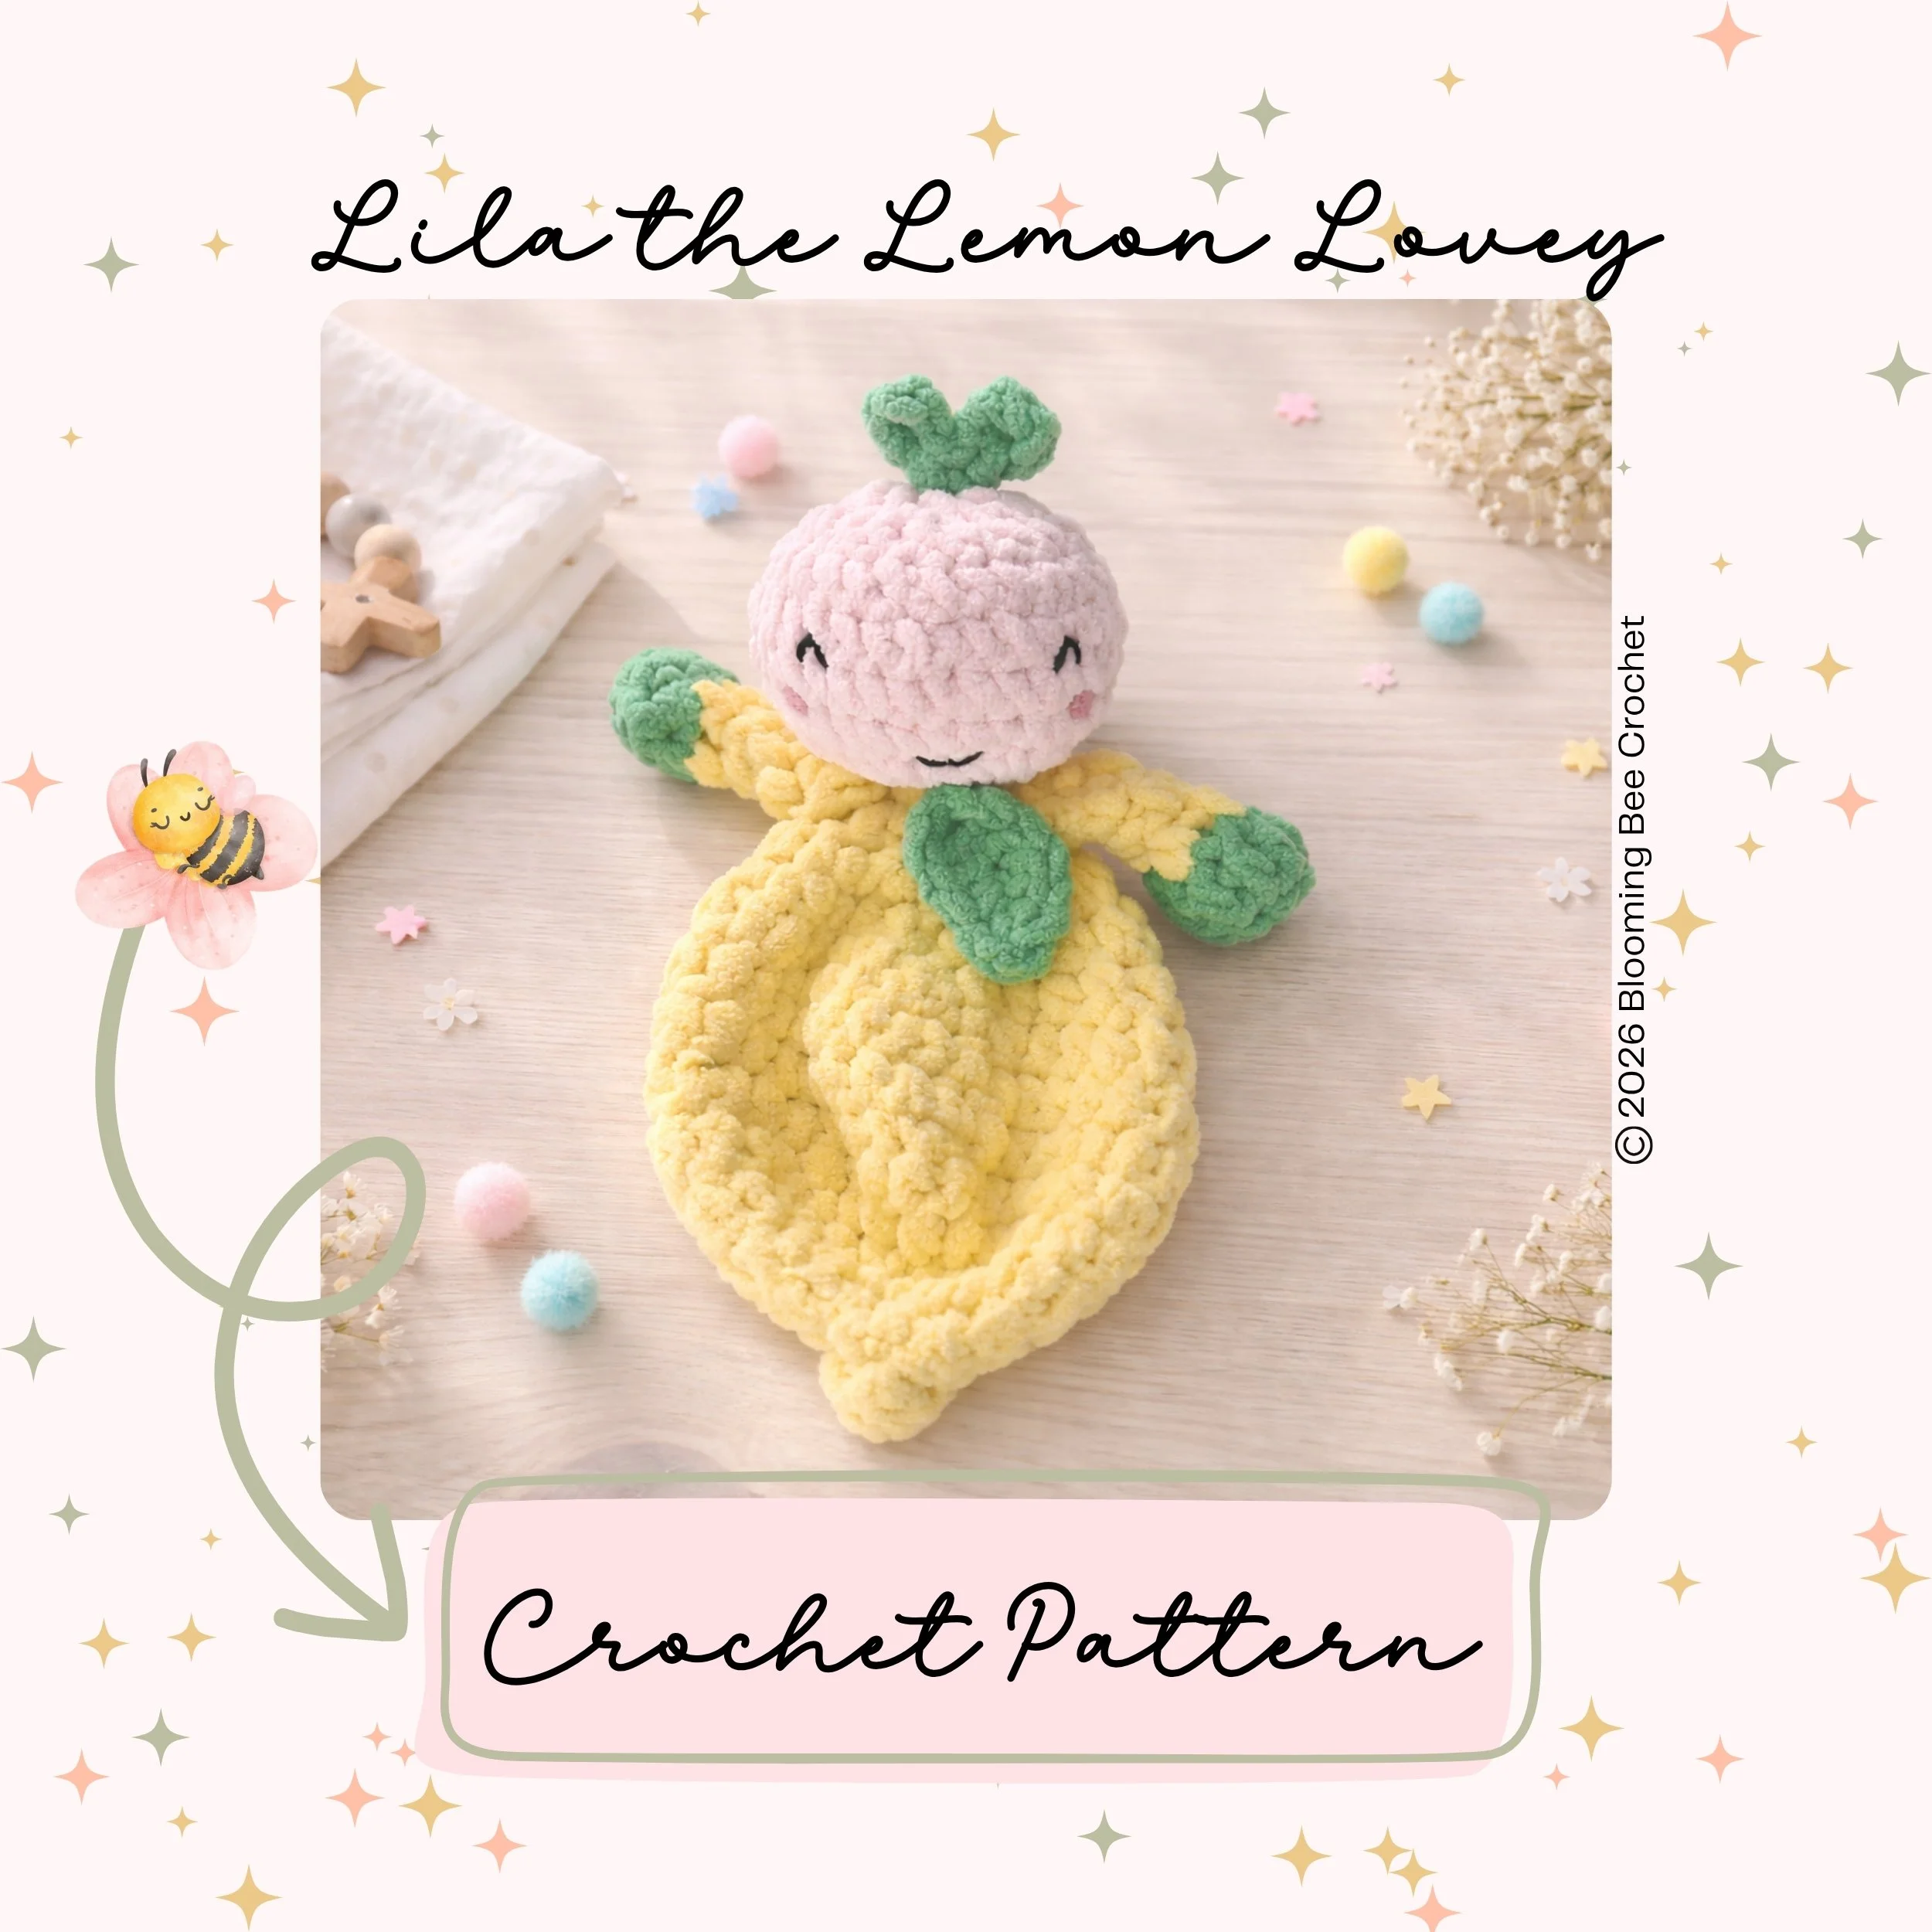
Lila the Lemon Lovey
This free pattern includes the basic instructions for Lila the Lemon Lovey.
Print, Relax & Crochet
Get the printable version of Lila the Lemon Lovey with easy-to-follow formatting & detailed step-by-step photos in my Etsy shop.
Get the premium PDF pattern here.
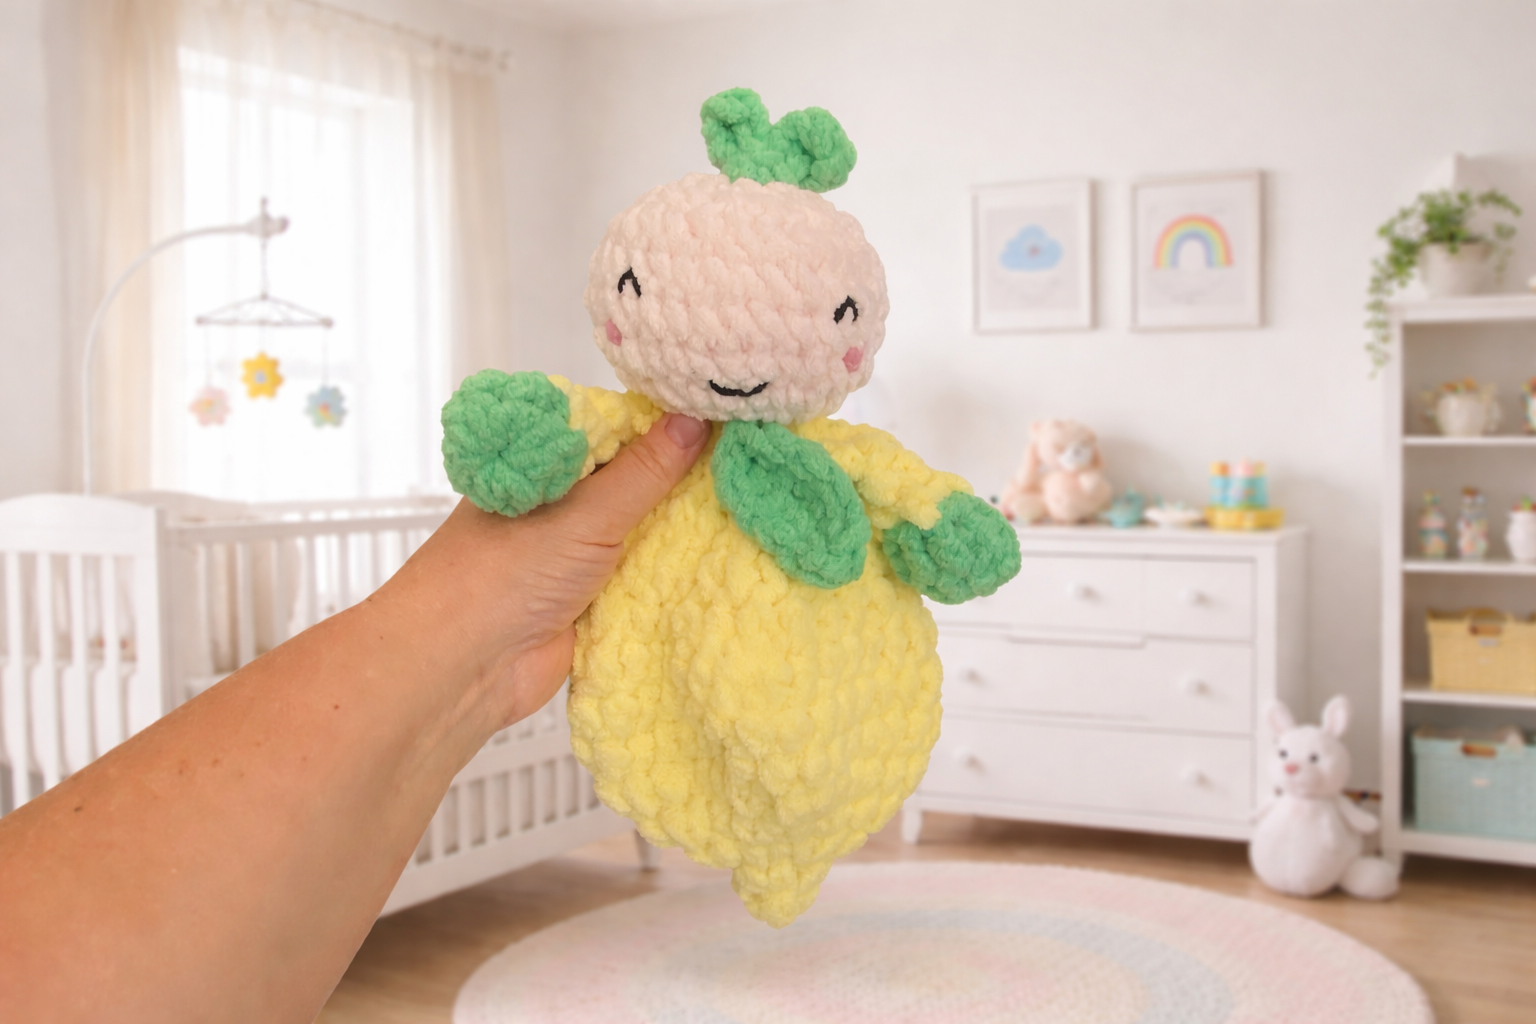
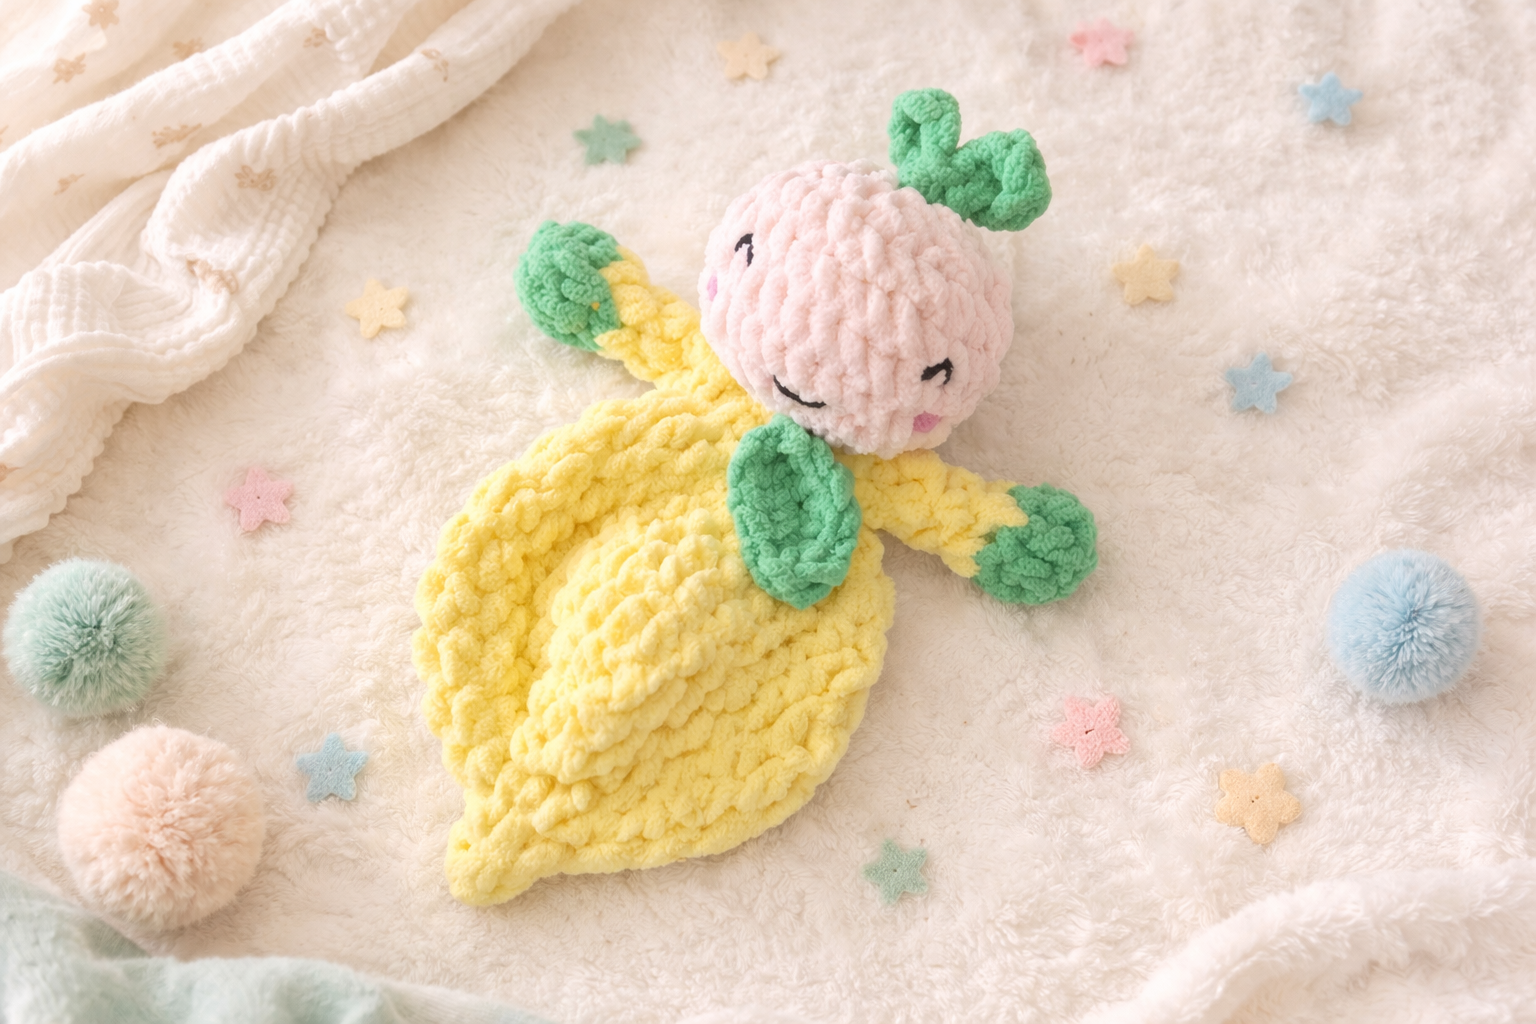
Meet Lila the Lemon Lovey — a sweet and cheerful crochet companion designed with soft textures, cozy cuddles, and a touch of citrus charm. Featuring a plush lemon-inspired body that’s a comforting blanket body and leafy green accents. Lila is perfect for nurseries, baby gifts, and little hands to snuggle.
This beginner-friendly crochet pattern works up beautifully in plush yarn and creates an adorable lovey that feels both playful and modern. Whether you’re making a thoughtful handmade baby shower gift, for your own bundle of love or creating for markets, Lila is sure to brighten your day with her soft, sunny personality.
Why You’ll Love This Pattern
Beginner-friendly construction with simple shaping
Soft plush texture perfect for cuddles and nursery décor
Works up beautifully in chunky blanket yarn
Adorable lemon-inspired design with sweet leafy details
Low sewing for a more enjoyable crochet experience
Makes a thoughtful handmade baby shower or newborn gift
Modern light-and-airy style that fits beautifully in neutral nurseries
Includes detailed instructions to help guide you through the pattern
Perfect for spring, summer, and fruit-themed crochet collections
Pattern Abbreviations
BLO - Back Loop Only
Dec - Invisible decrease
CC - Contrasting Color
Inc - Increase (2 stitches into the same stitch)
FLO - Front Loop Only
HDC - Half Double Crochet
PM - Place Marker (beginning of round)
Rep - Repeat
SC - Single Crochet (yarn under method)
SL St - Slip Stitch
St(s) - Stitch(es)
YO - Yarn Over
Invisible decrease (dec):
Insert hook into front loops of the next two stitches. Yarn over and draw through first two loops. Yarn over and draw through remaining two loops.
Supplies Needed
Hook - 7mm & 8mm
Yarn - Bernat Blanket Yarn (or Baby), Super Bulky (6) 100% Polyester
Colors used:
Bernat Blanket Blush Pink - 25yds/34g
Baby Blanket Buttercup - 62yds/31.70
Baby Blanket Green- 12yds/16g
Black Yarn, Worsted Weight (Embroidered Eyes & smile Only) Lotus Bernat Blanket Yarn for blush
Safety Eyes (Optional Size - If using)
Poly-Fil Stuffing
Stitch Marker
Scissors
Darning Needle
NOTES
1. Finished Measurement - 11in (28.94cm)
2. The Contrasting Color is desired color other than yellow. For example the green for feet and leaves.
3. Pattern is worked in continuous rounds (unless stated otherwise). Use a stitch marker to mark the beginning of each round.
4.When a decrease or increase stitch is listed work in the same manner as stitches in that round.
5. Invisible decrease is used for decrease stitches and Yarn Under method is used for single crochet stitches.
6. Body and Head are worked as one piece. Arms are worked separately then sewed on. The leaf is worked individually and sewn on
You can grab the premium PDF version of this Lila the Lemon Lovey pattern on Etsy.👇🏻 With neatly formatted printable pages it’s perfect for easy printing or crocheting on the go—plus it helps support my small business.🩷
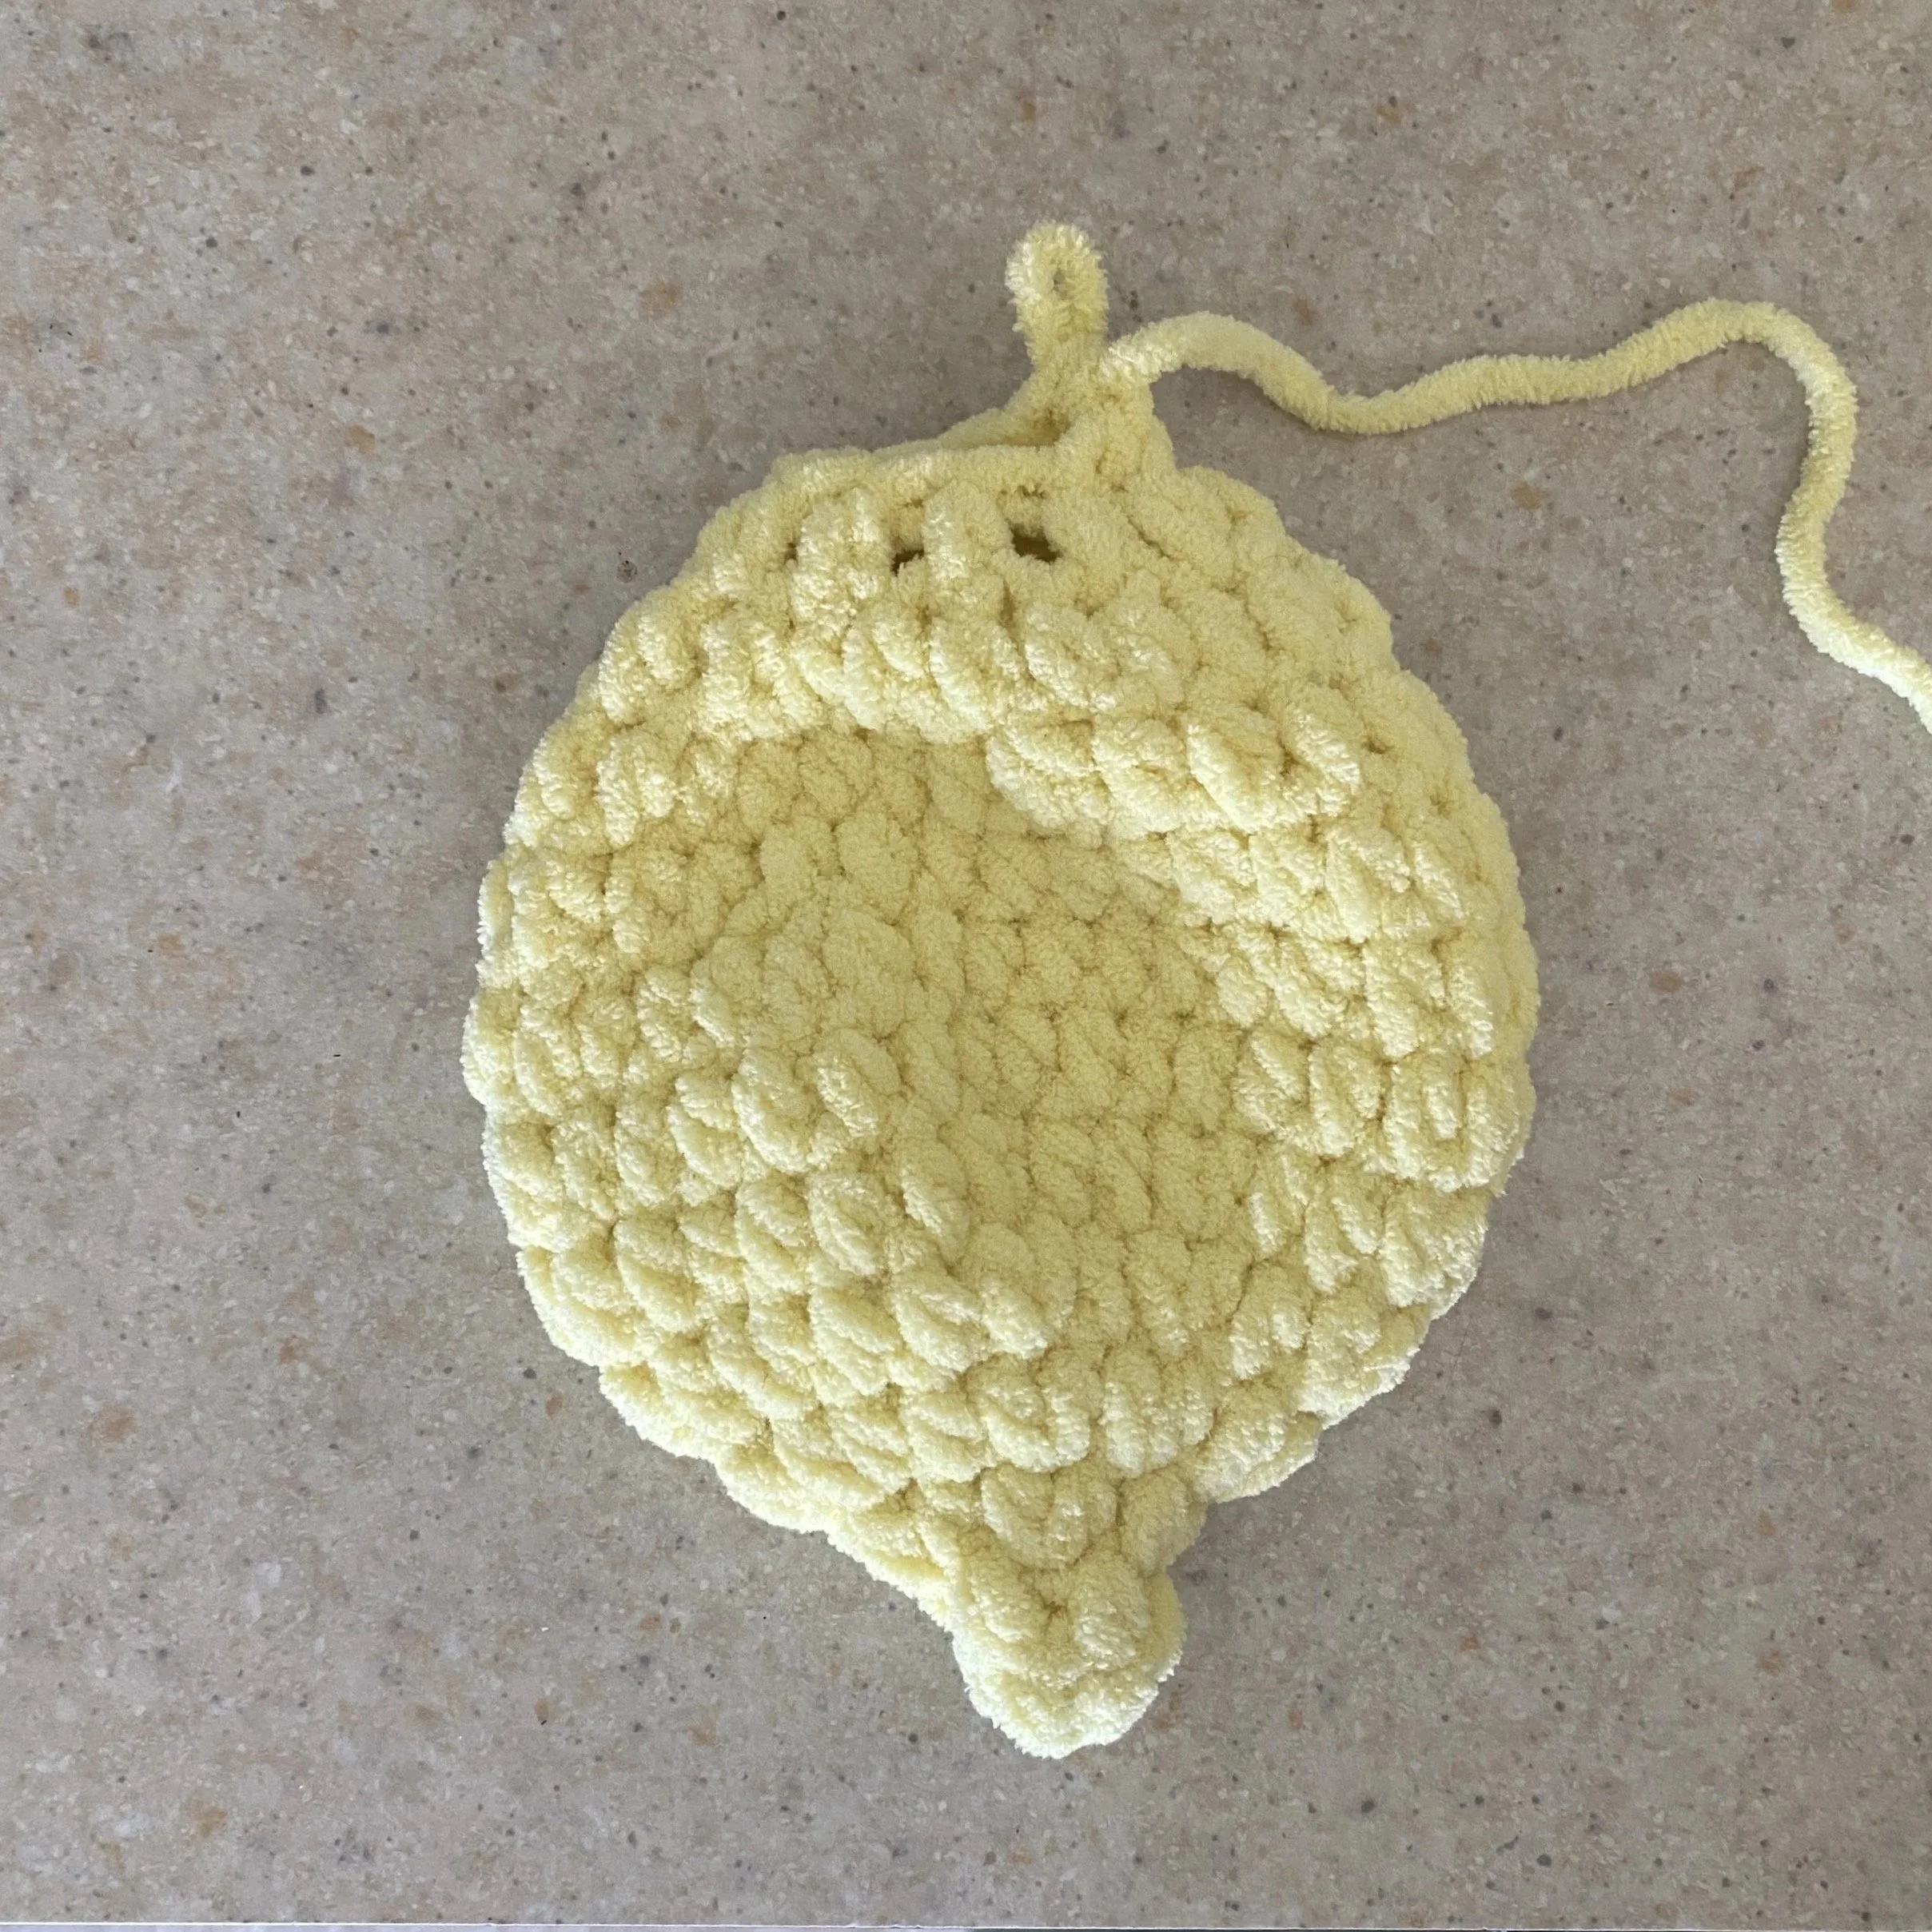
Finished Body
Body - 8mm Hook
With Yellow
R1 - 4hdc into magic circle (4)
R2 - hdc around (4)
R3 - inc around (8)
R4 - inc around (16)
R5 - *hdc, inc, rep* around (24)
R6 - *hdc x2, inc, rep* around (32)
R7 - hdc around (32)
R8 - hdc around (32)
R9 - *hdc X2, dec, rep* around (24)
R10-R11 - hdc around (24)
R12 - *hdc, dec, rep* around (16)
R13 - dec around
Do not stuff, continue onto close the body.
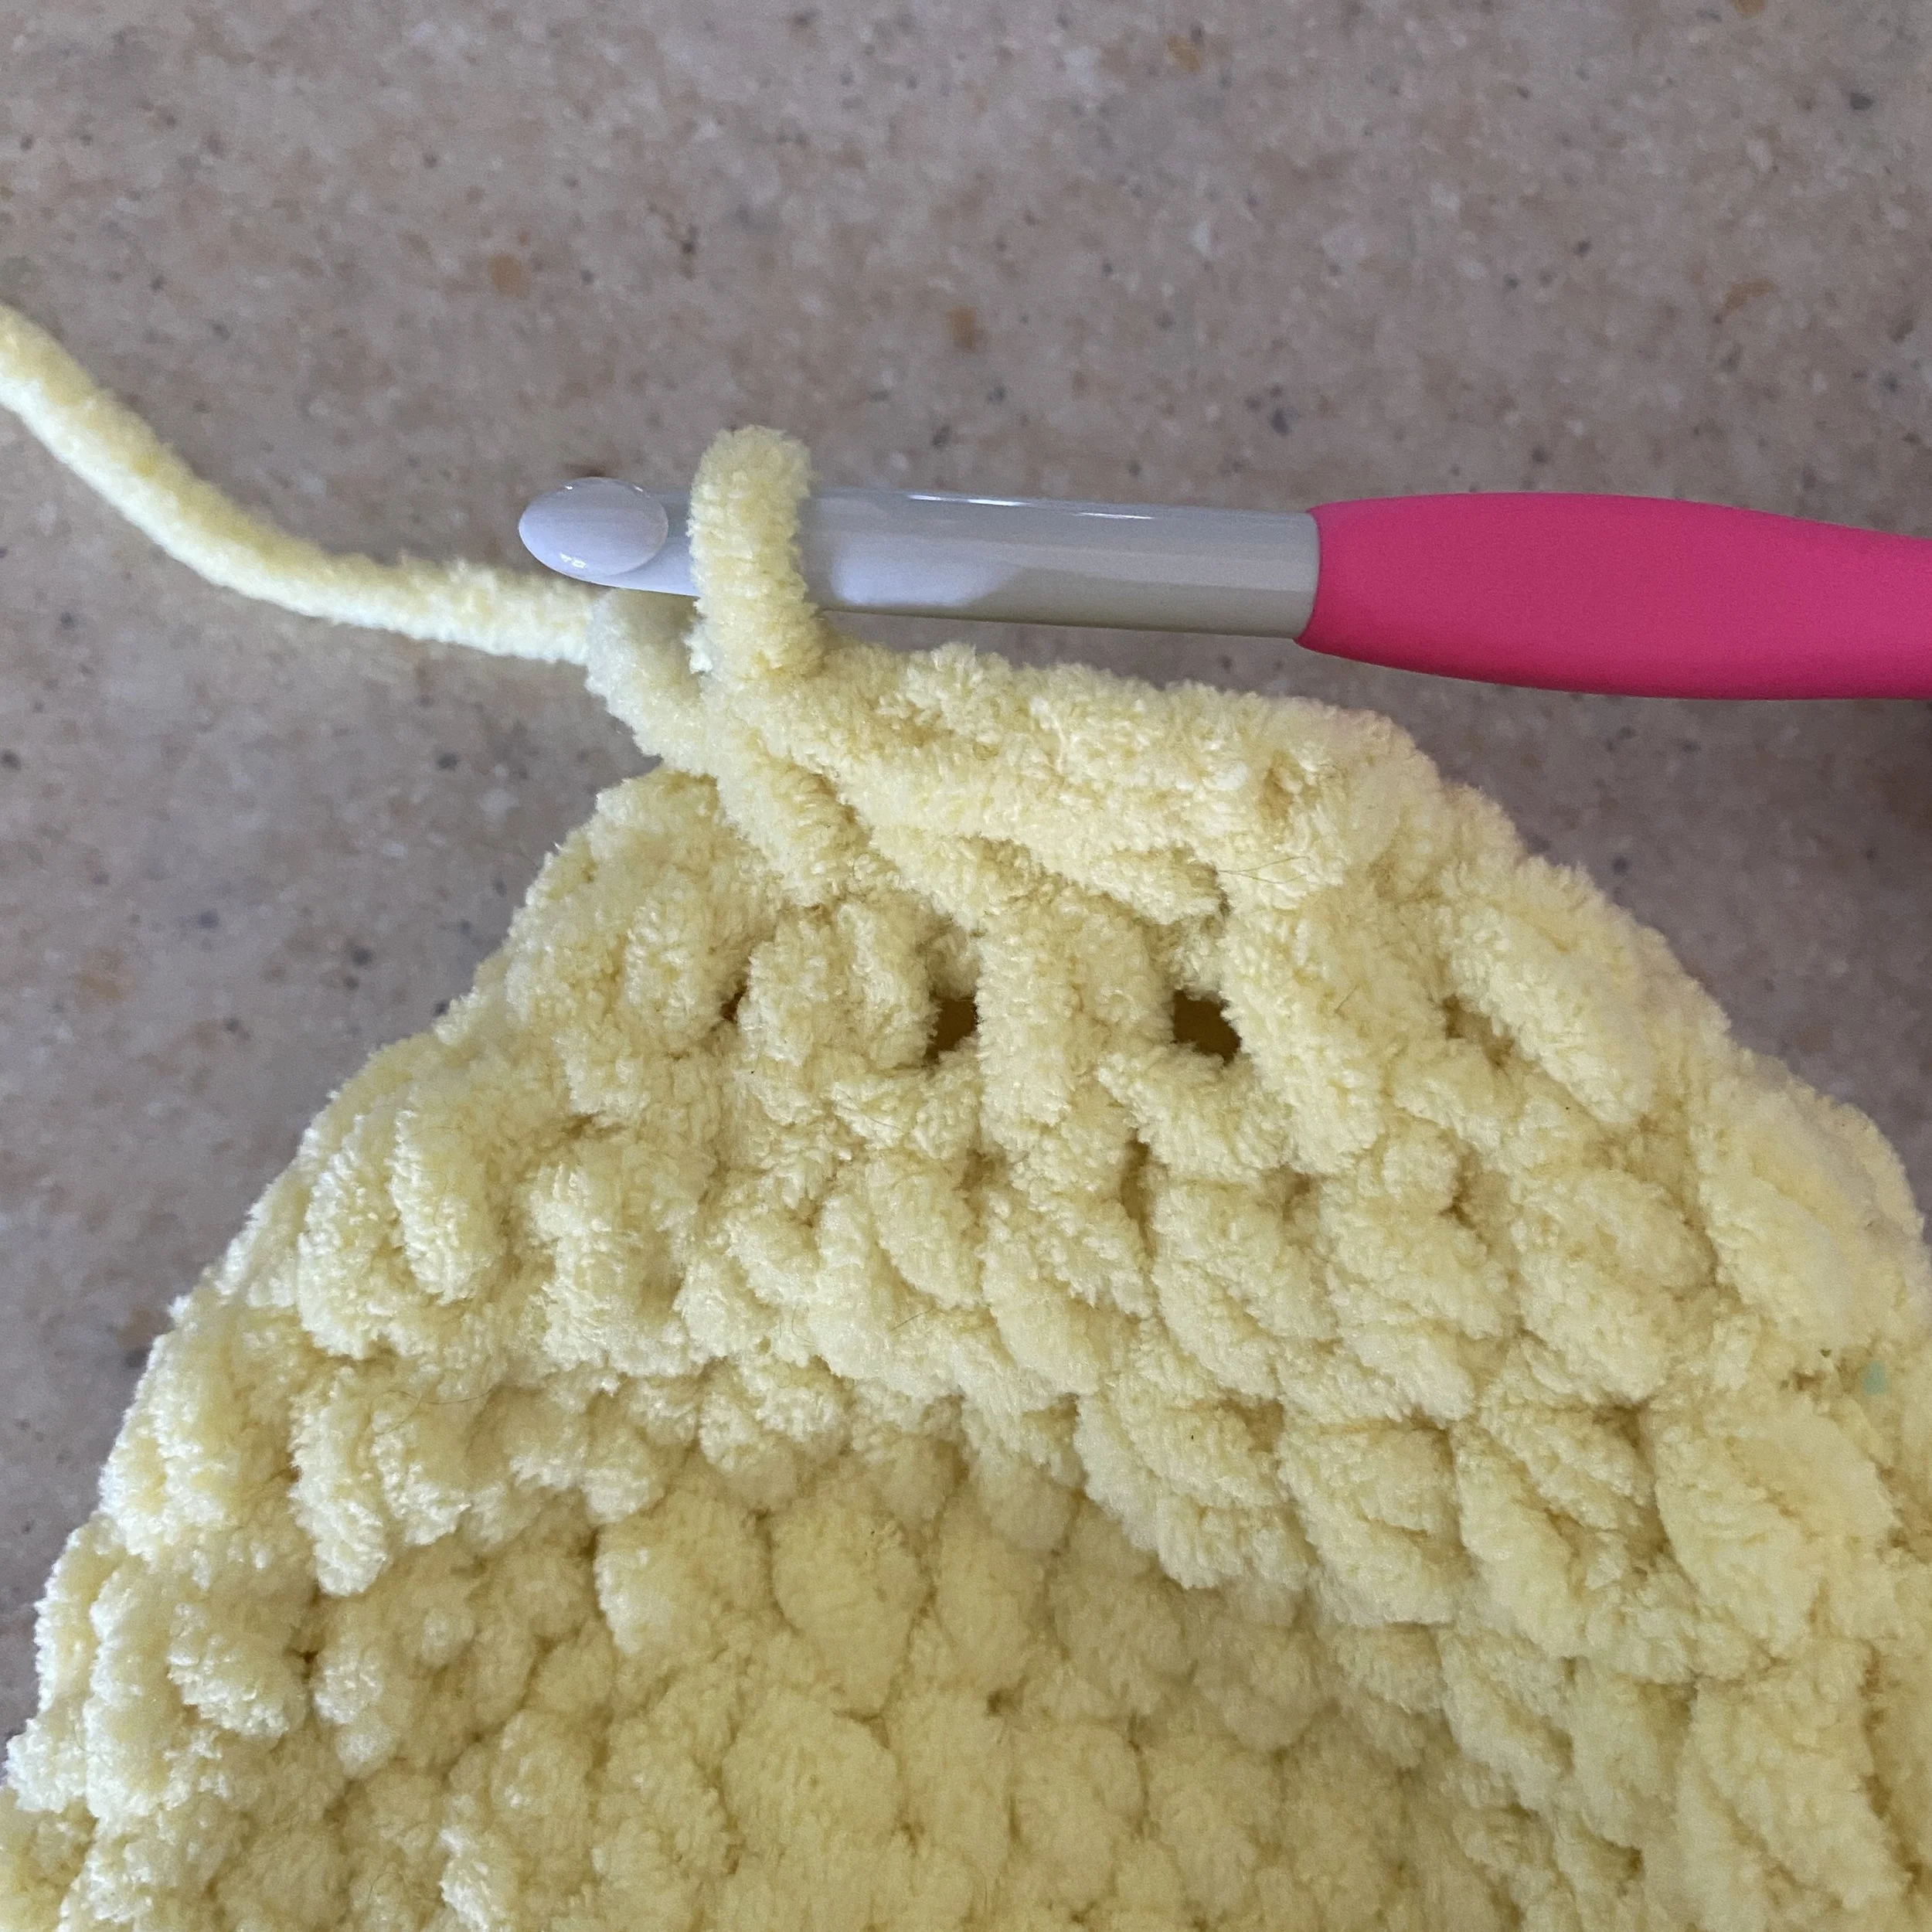
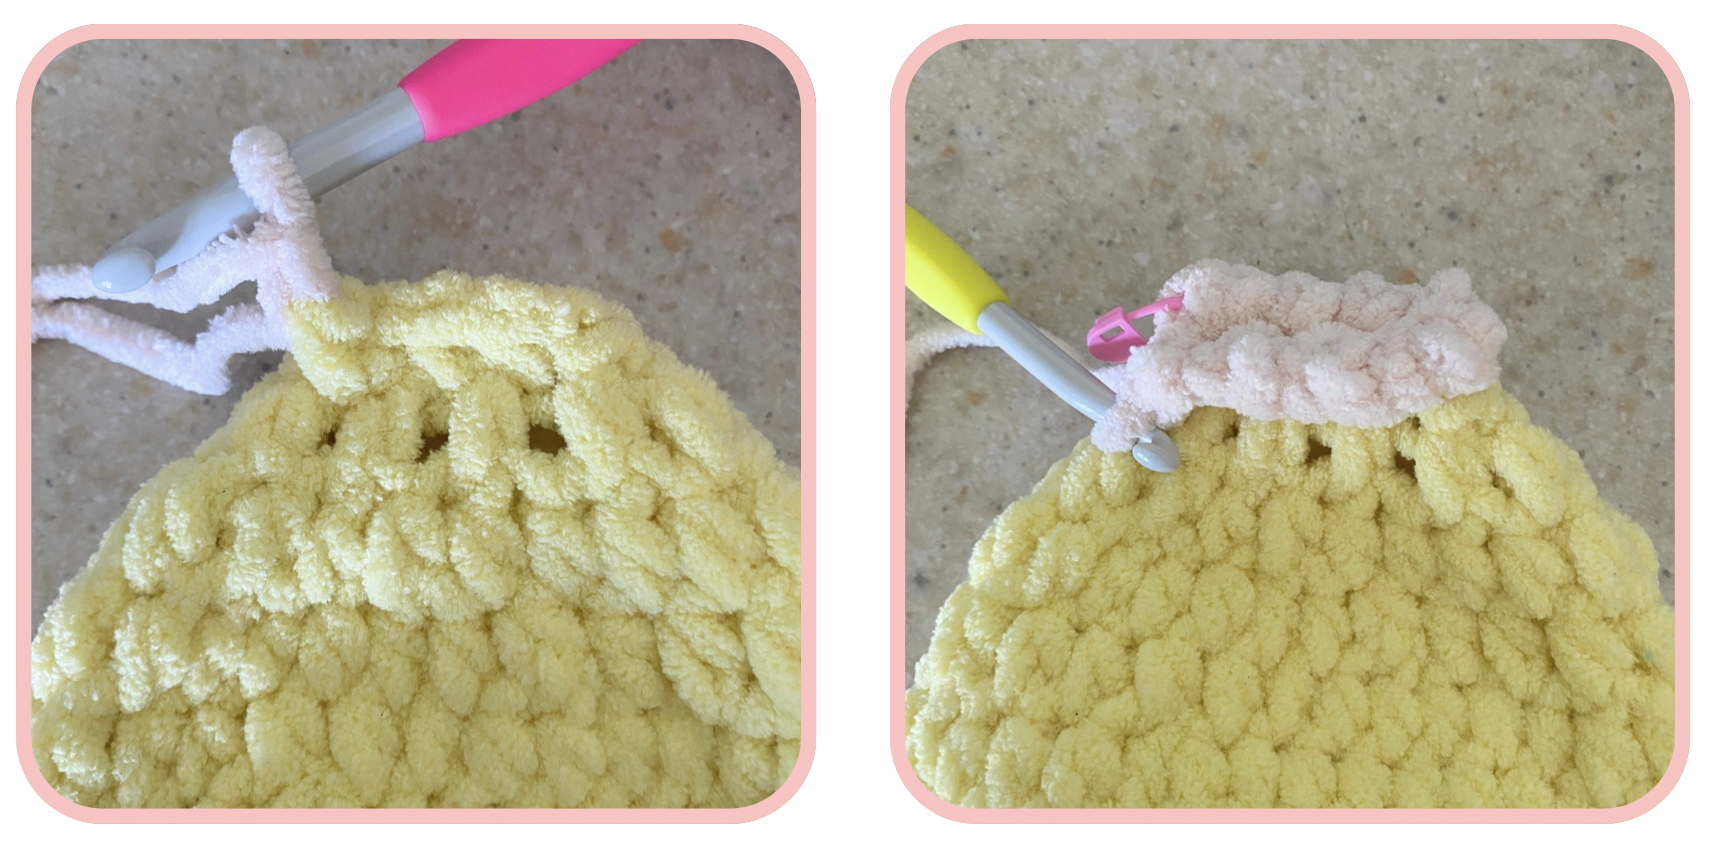
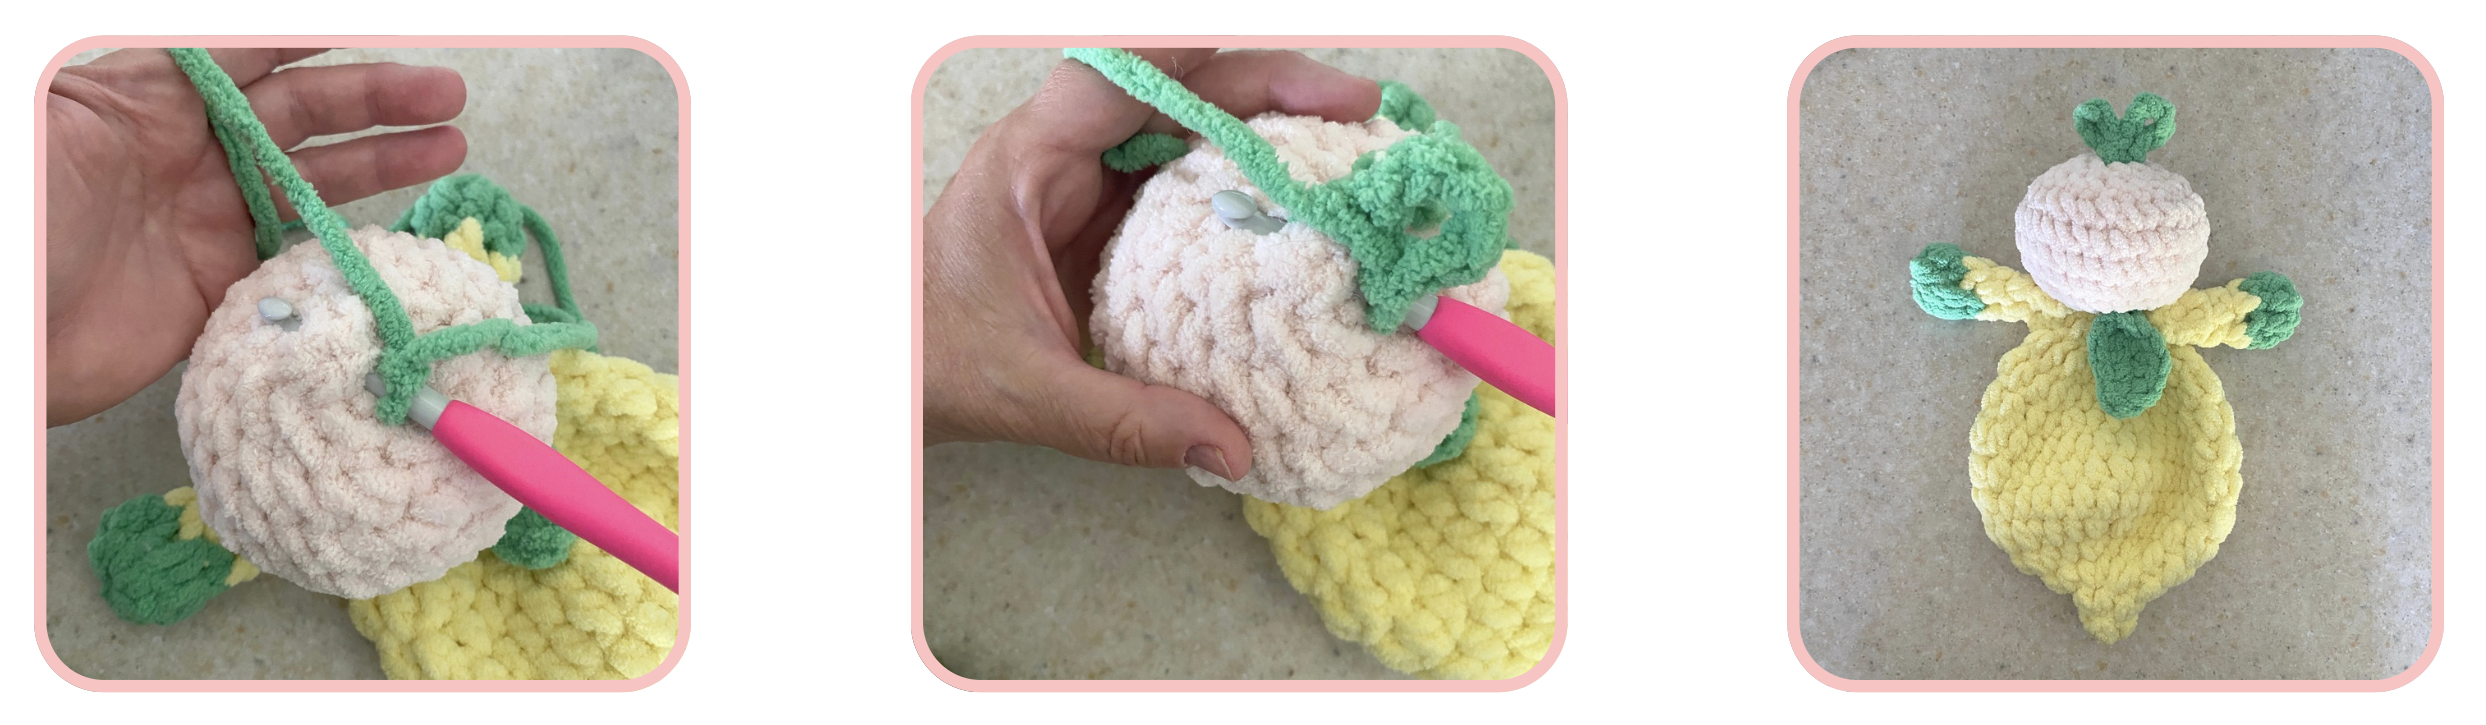
Closing Body - 8mm Hook
Step 1:
Remove hook and drop the loop, Insert hook into next stitch and pull up the loop dropped. ch1

Step 1
Step 2
*insert hook into stitch and corresponding stitch on opposite side, sc, rep from * 3 more times (4) Do not stuff. Continue onto Head.
Head - 7mm hook
With Blush Pink
R1 - ch1, turn, scinc flo, PM into first sc st, scinc flo next 3sts, working back into the same sts, scinc blo next 4sts, this marks round 1 of the head (16)
R2 - *sc, inc, rep* around (24)
R3 - *sc X2, inc, rep* around (32)
R4-R5 - sc around (32)
R6 - *sc X2, dec, rep* around (24)
If using safety eyes (making sure head is center with body) attach on round 5 and round 6, 5sts apart.
Add stuffing.
R7 - *sc, dec, rep* around (16)
R8 - dec around (8)
Add more stuffing if needed. Cut a long tail, with darning needle weave through remaining sts in the flo and pull tight to close. Secure thread and pull tail through head.
Prefer a scroll-free experience?
Upgrade to the printable PDF version of Lila the Lemon Lovey.
Get the PDF Pattern
Arms 8mm hook
With Green
R1 - 8 hdc into magic circle (8)
R2 - hdc around (8)
With Yellow
R3 - dec around (4)
R4-R5 - hdc around (4)
Do not stuff.
(The arms are closed the same way as body. Photos above)
Remove hook, insert hook into next stitch and pull through the loop dropped. ch l, insert hook into st and corresponding st on opposite side, sc, rep from one more time (2) Fasten off.
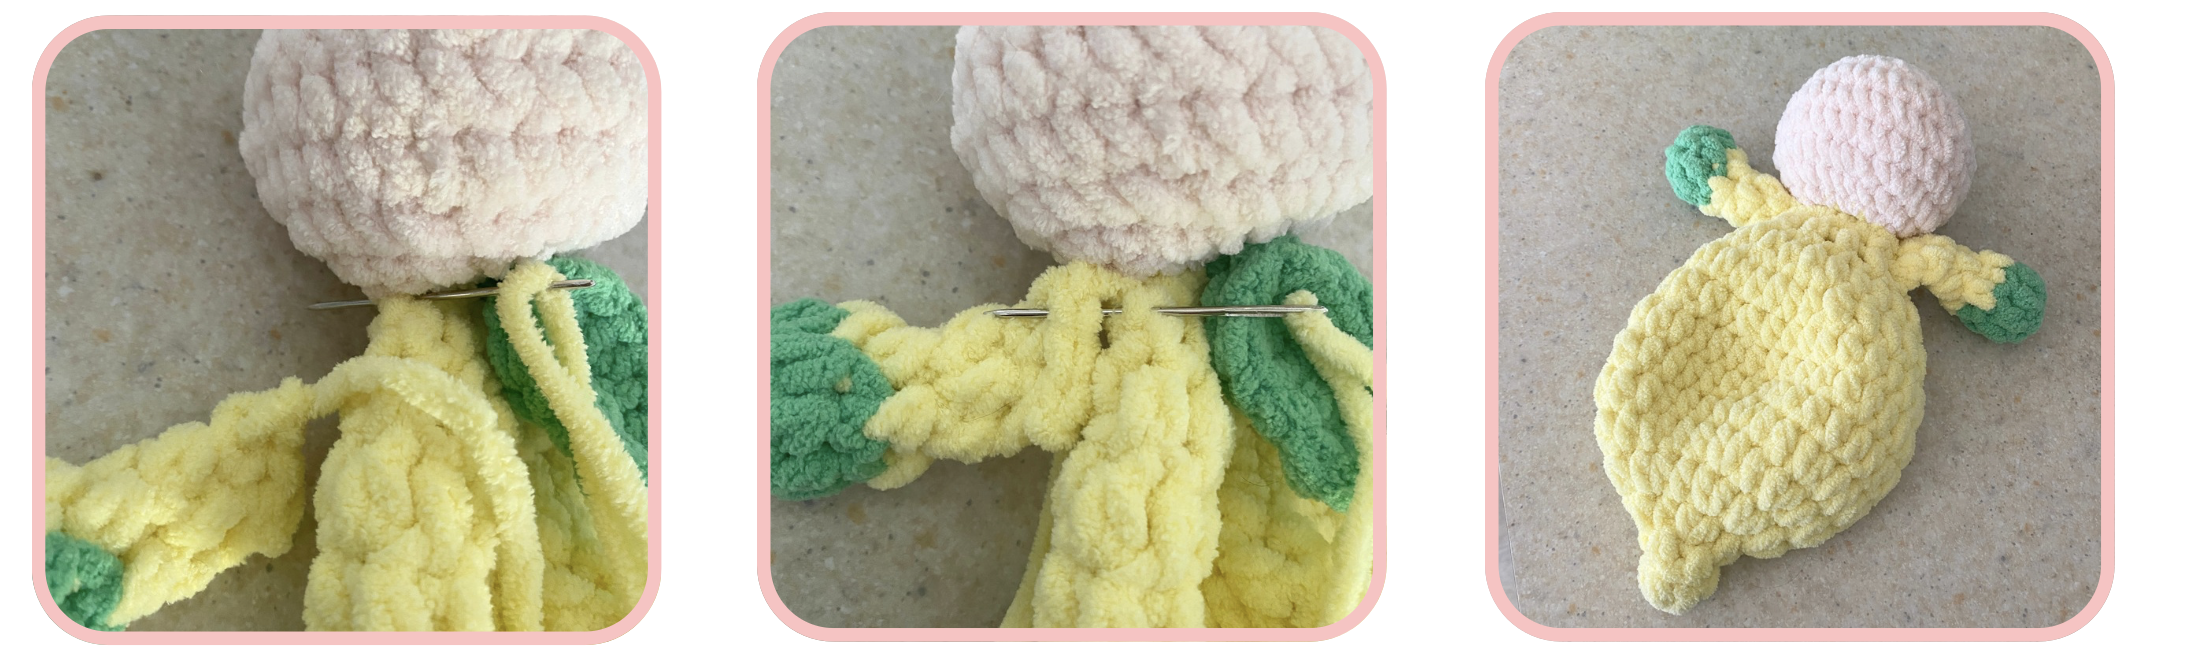
Attach arms by sewing them on each side of body right under the head. start by making the first st at the top of the arm, then continue sewing down into the last two st’s. Secure and weave in the tail.
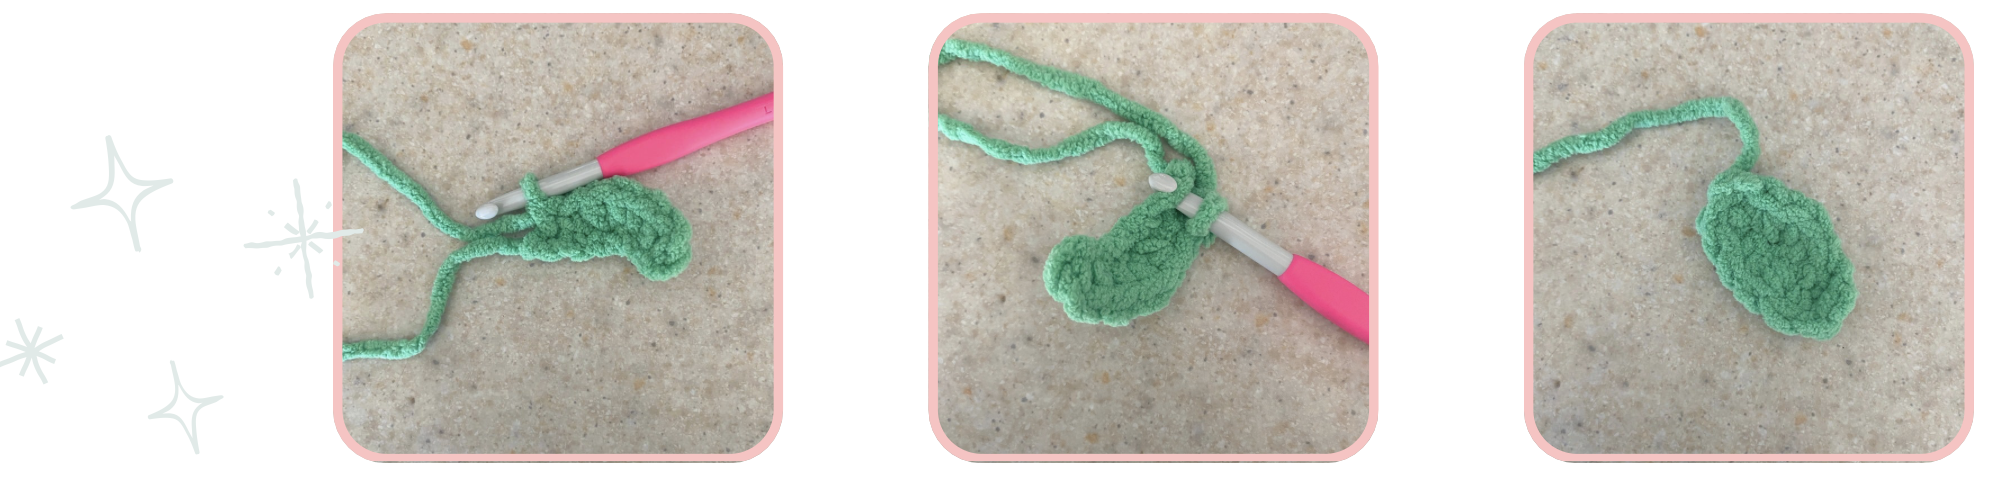
Leaf & head leaf sprouts- 8mm Hook
Leaf - With Green
With a long tail ch 6, sc into second ch from hook
sc into next ch
hdc x 2 into next ch
sc into the last two ch’s
Working into the other side of ch’s
sc into the first two ch’s
hdc x 2 into the third ch
sc into the last two ch’s
sl st into the next st, secure and weave in tail.
Attach leaf by sewing it to where head meets the body, off centered to the right a bit. Secure and weave in remaining tail.( if you would like your leaf secured completely to the body, you may tack the bottom to the body.)
Leaf Sprouts - with green:
Working over R8 attach yarn to top of the head with a sl st.
Ch 6, sl st back into the same st on head, sl st, ch 5, sl st back into the same st on head. Secure and weave in ends.
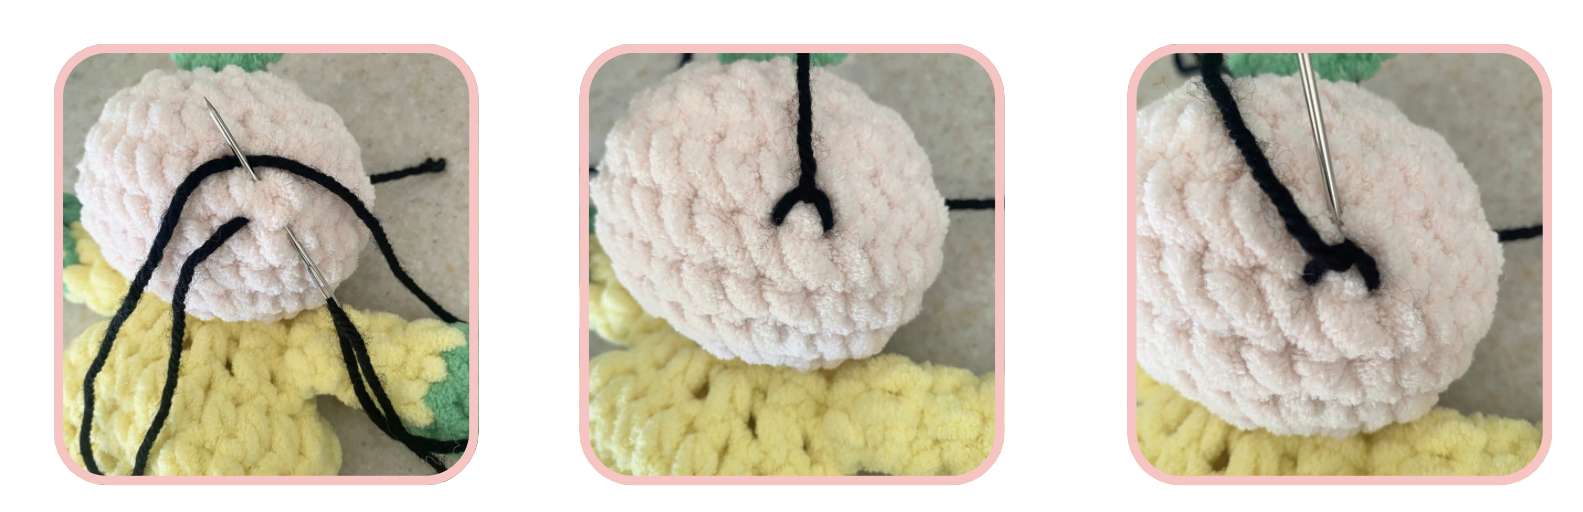
Eyes mouth & blush - yarn needle
Eyes - With black worsted weight yarn: *Bring the yarn needle out between Rows 5 and 6.
Insert the needle into the st over and out through the middle stitch above. Wrap the yarn under the needle and pull through to form the arch of the eye. Then insert the needle over the top and back into the same stitch. Bring needle over to the other side of face and repeat * Secure and weave in ends.
Smile - With black worsted weight yarn: Bring the yarn needle out between rows four and five towards the center of the face. Insert the needle into the st over and out through the middle stitch below. Wrap the yarn under the needle and pull through to form the arch of the smile. Then insert the needle over the top and back into the same stitch. Bring needle over to the other side and repeat. Secure and weave in ends.
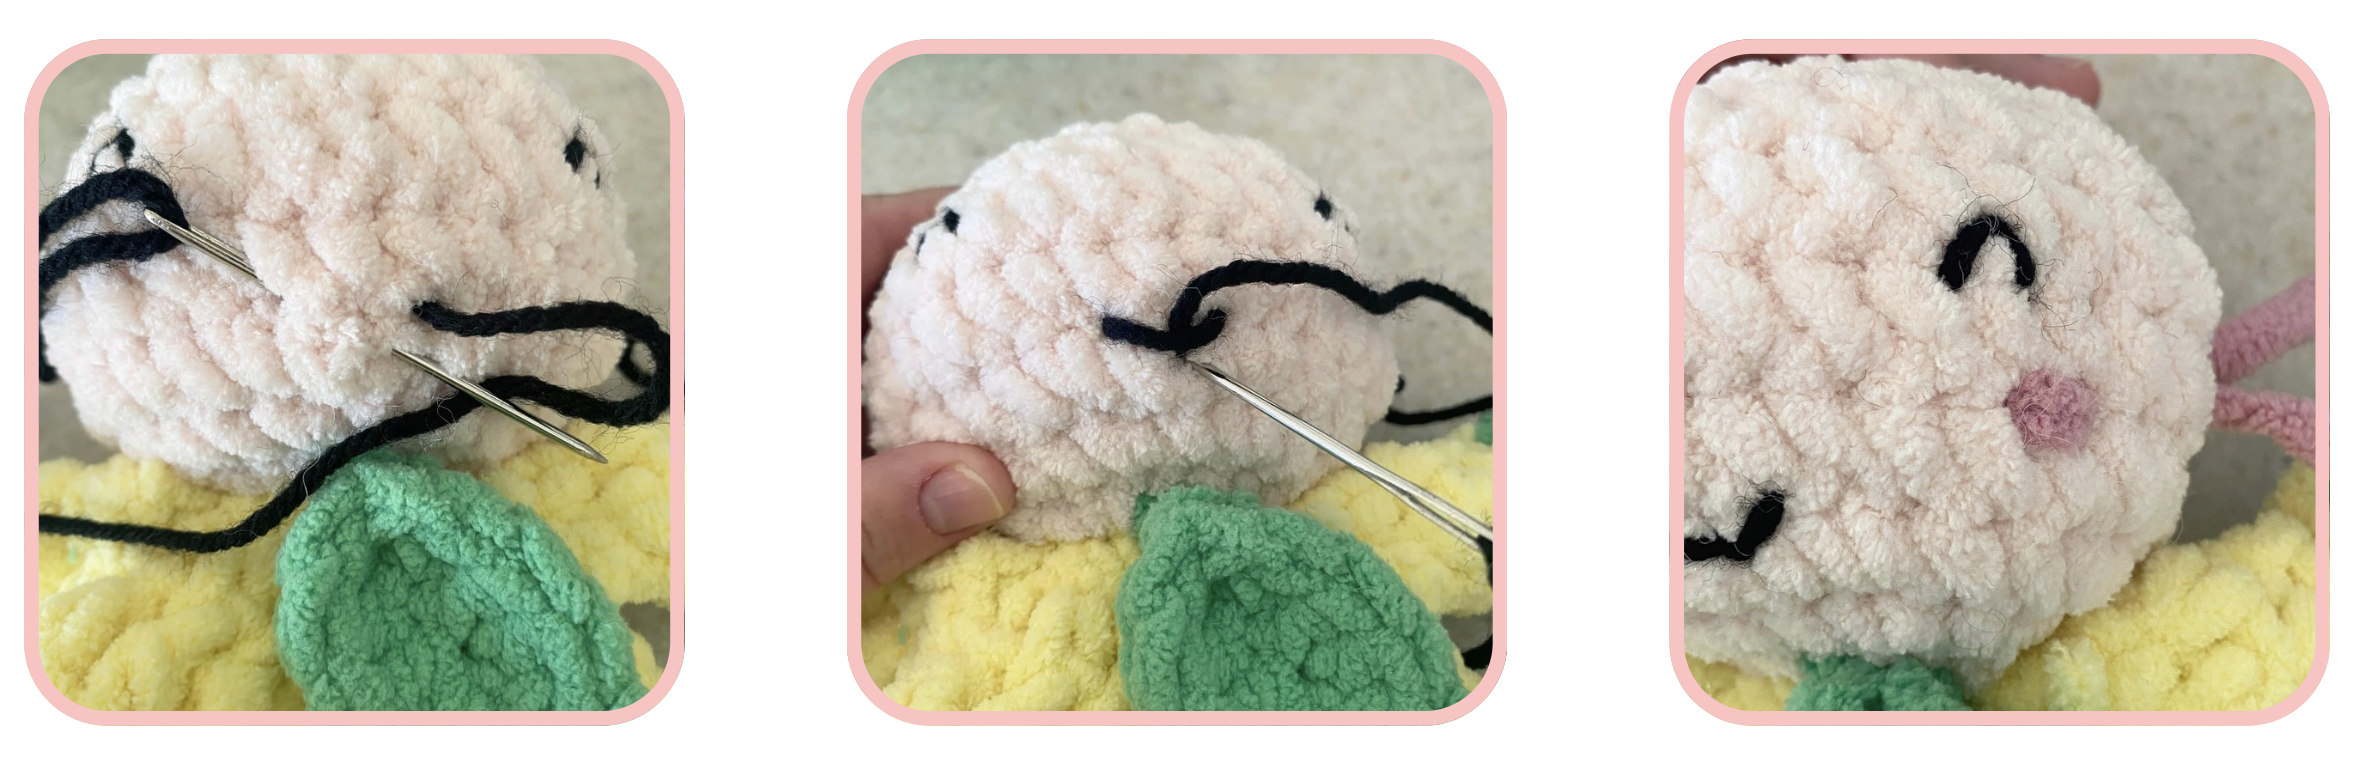
Blush - With Lotus Blanket Yarn: place a couple of st’s into the same st a row below and just outside of the eyes.
Congratulations! You’ve finished your Lila the Lemon Lovey!
You can find this scroll free premium pattern on my Etsy shop. If you loved this pattern, be sure to save it to Pinterest so you can come back to it anytime!

This crochet pattern and photos are the property of Blooming Bee Crochet. Please do not repost, share, or sell this pattern as your own. Finished items made from this pattern may be sold in small quantities with credit to Blooming Bee Crochet.
If sharing, please share the link to this post instead of reposting the pattern.
© Blooming Bee Crochet. All rights reserved.
Take Lila With You Anywhere!
The printable PDF version is available in my Etsy shop for easy, on-the-go crocheting.
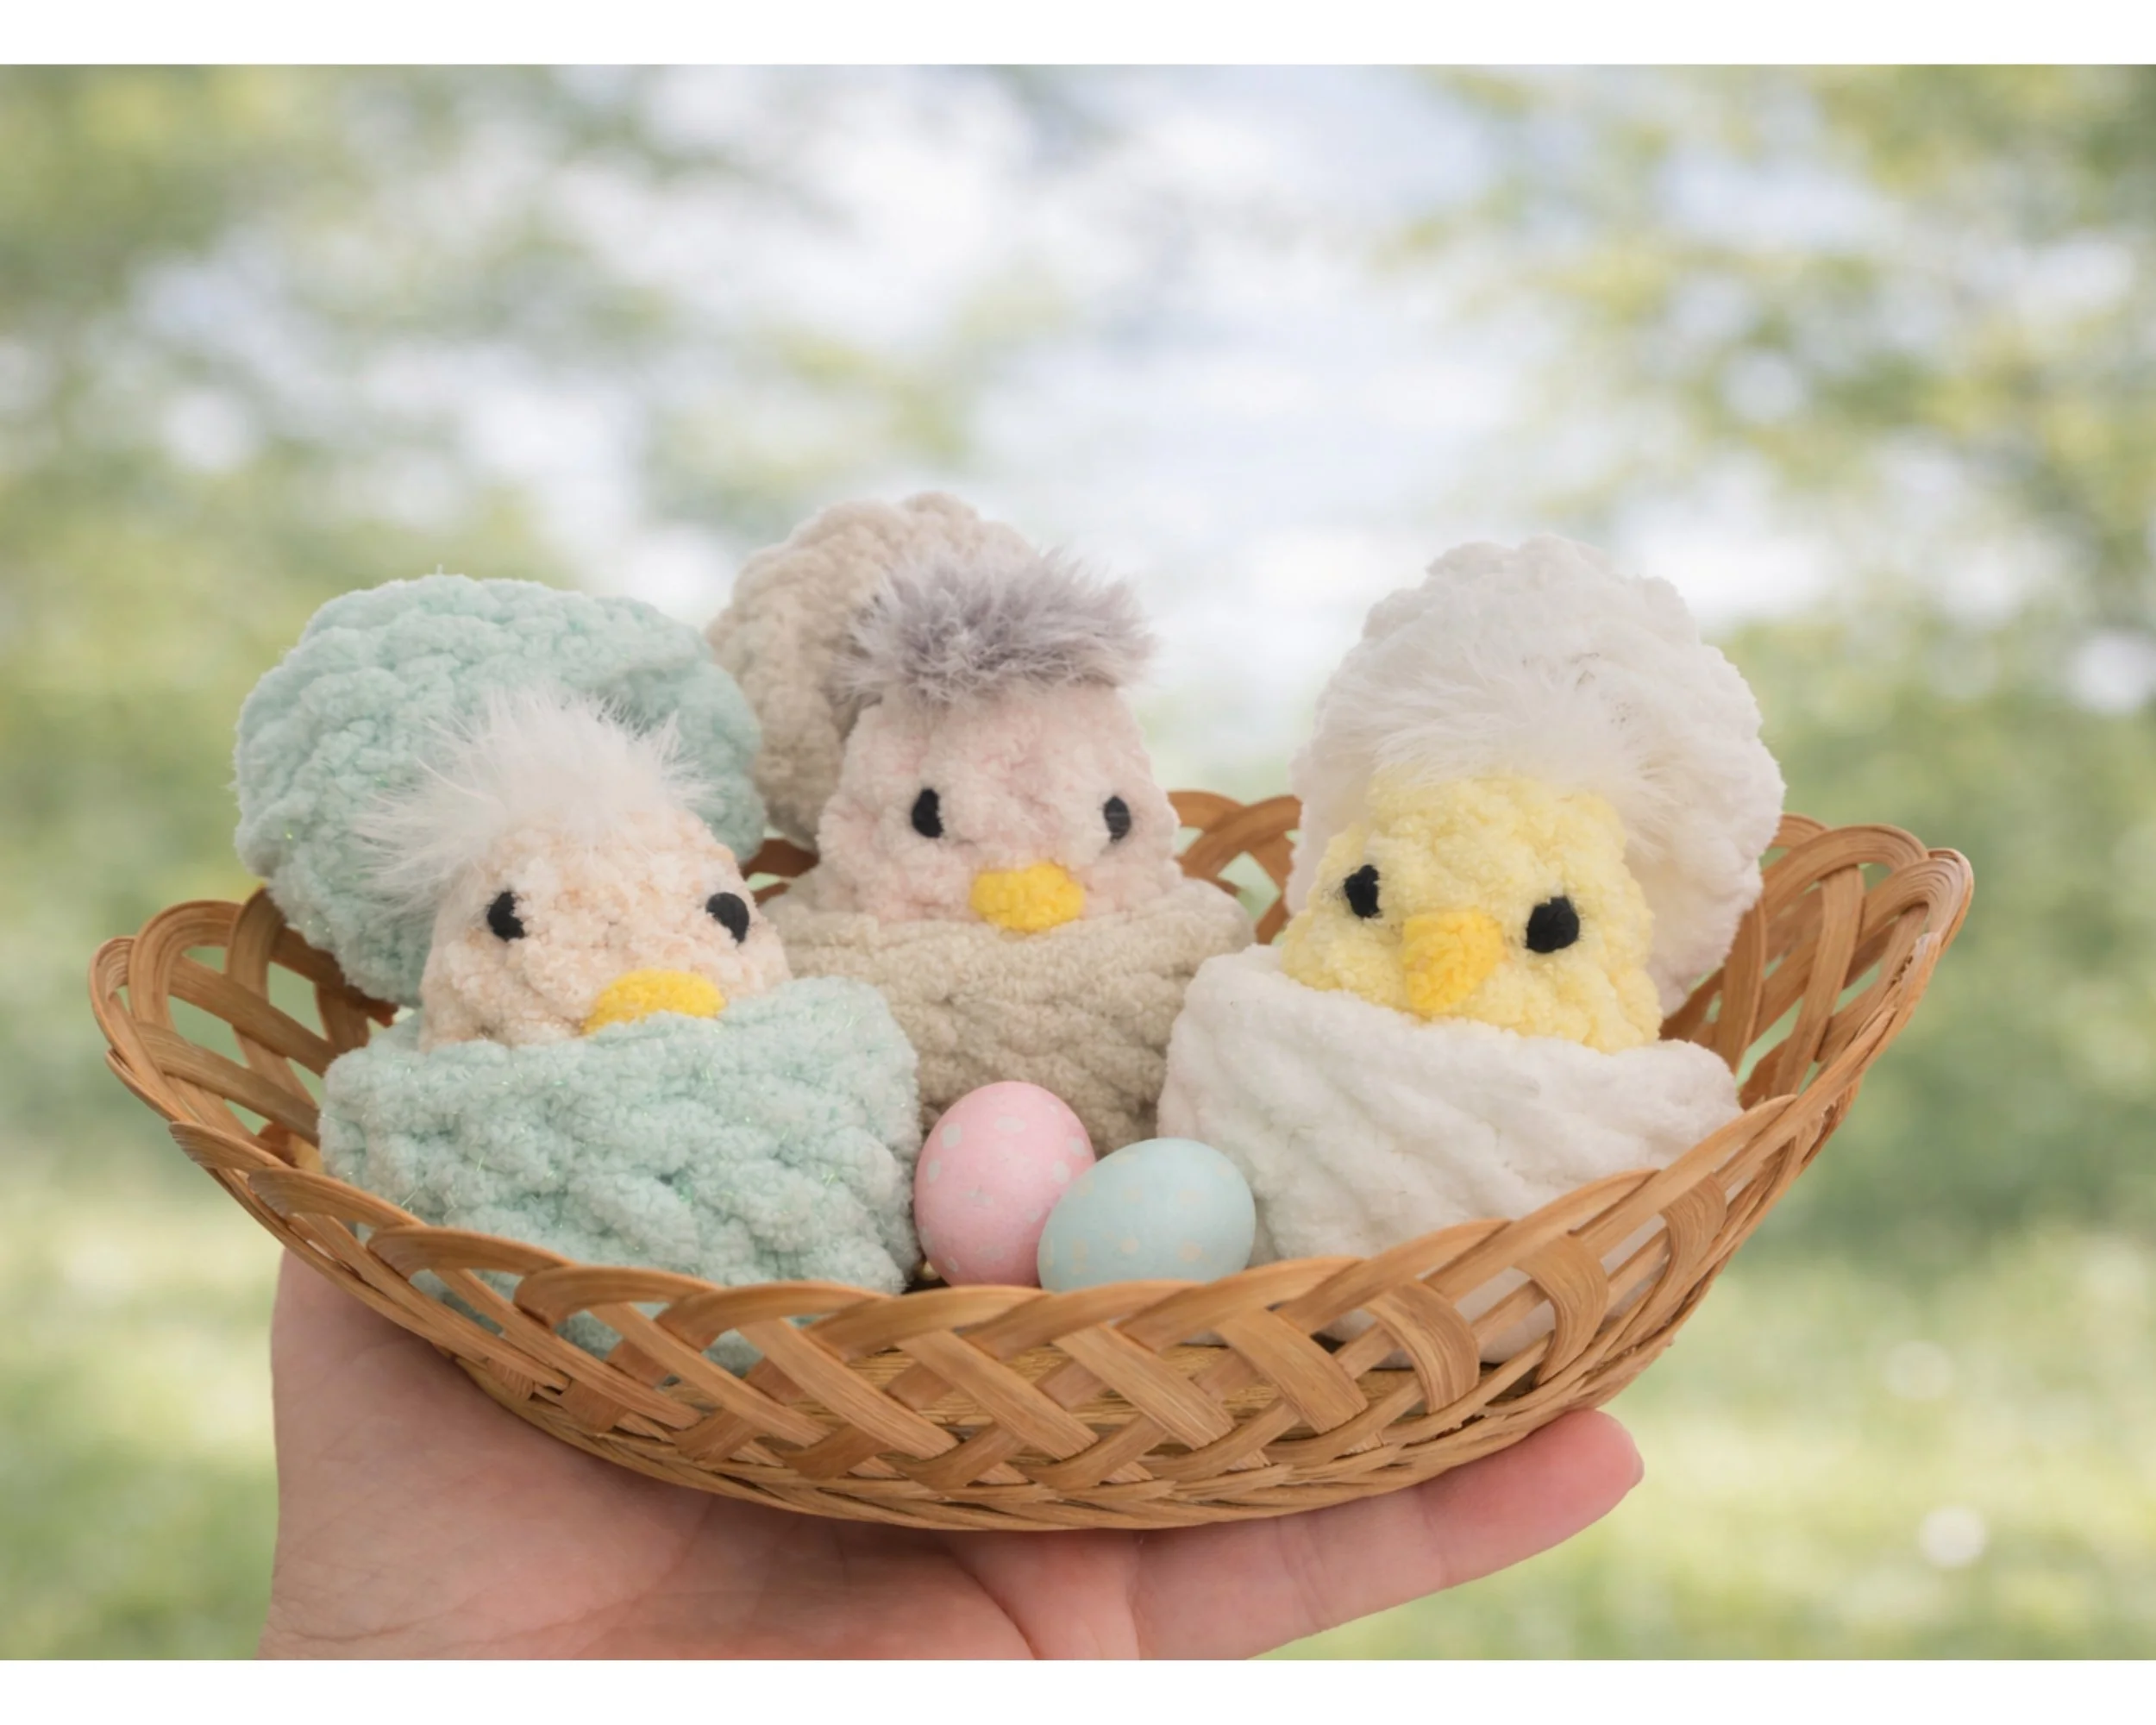
You may also enjoy the Peekaboo Chick Pattern